
Gmail automatically comes with Primary, Social, and Promotions tabs already displayed, but you can choose to remove or add different tabs.
1. Once you are in the Settings section, you will see the Inbox tab located in the menu on the left side of the page. Click on this tab to access the options for your inbox.
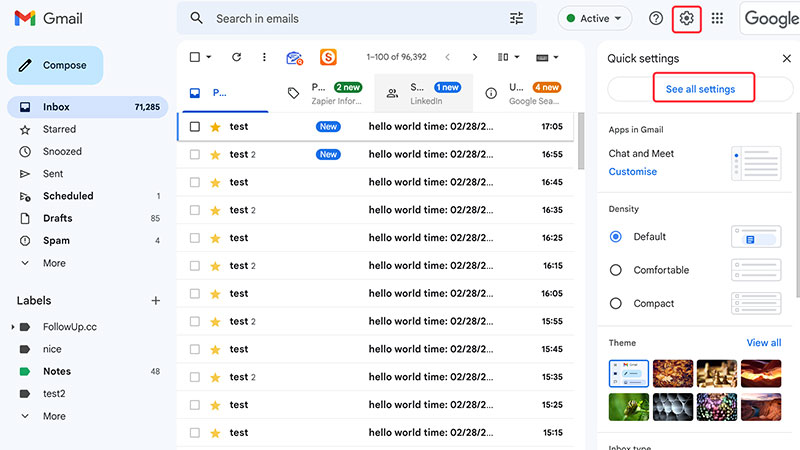
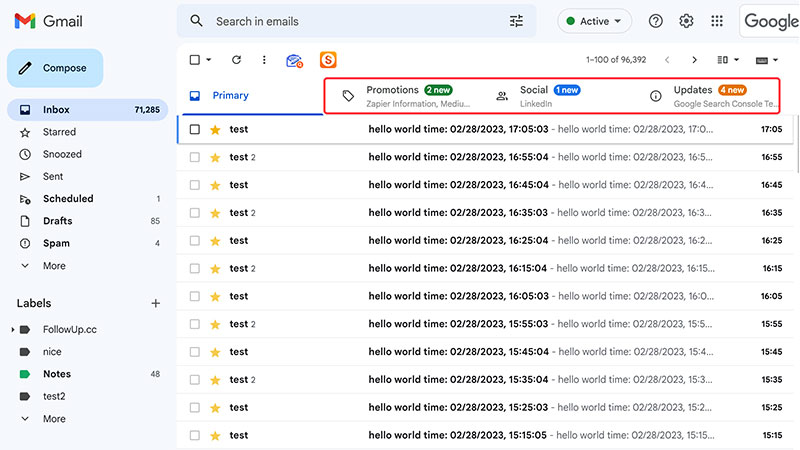
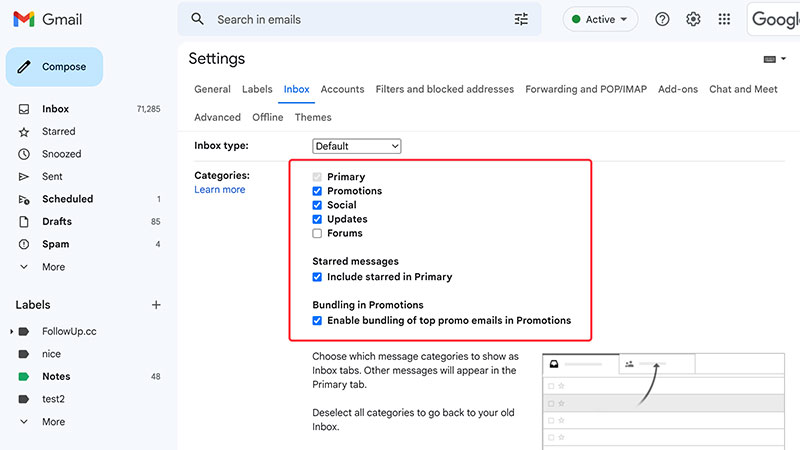
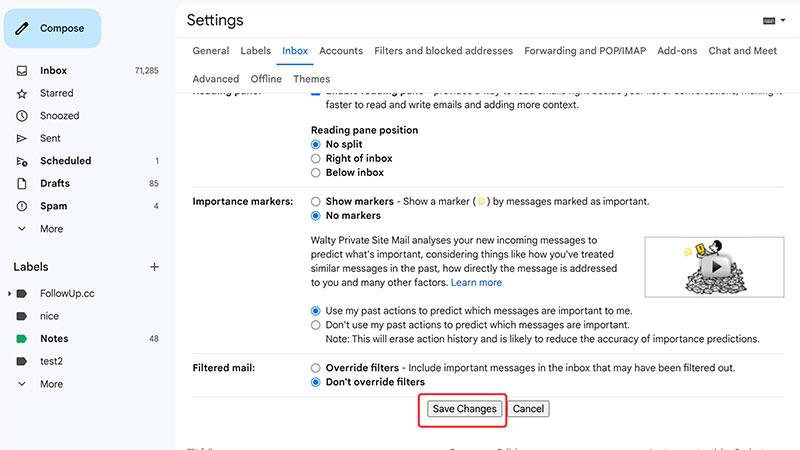
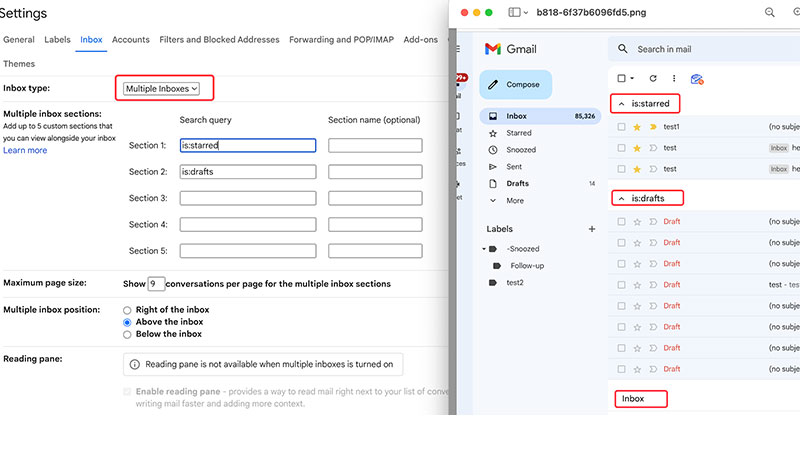
Overall, removing unwanted tabs in Gmail is a simple process that can help you better organize your inbox and make it easier to find important emails. By going to the Settings section and accessing the Inbox tab, you can easily remove or add different tabs to customize your Gmail experience. So, it is a good idea to take a few minutes to customize your tabs to better suit your needs.
To check your spelling, navigate to the more icon at the bottom right of your email composer and click Check spelling
MIT Technology Review found that nearly 80% of Americans are reading email on their smartphones, so here’s how to mark multiple emails as read on mobile.
“cc” (carbon copy) and “bcc” (blind carbon copy) are both carbon copy features in email.
 Translate